Liberty, MO: Interior house painting is one of the best and most affordable ways to brighten up your home or office. Quality interior painting can transform a faded and uninspiring space into an inspiration for you, your guests, or your clients.
The secret to assuring a quality interior painting job (or any painting project) is proper preparation. If adequate painting preparation is not done, there is a high chance that your finished project won’t turn out as flawless as it should.
Preparing your surfaces for interior house painting involves various steps. Therefore, it’s alway good 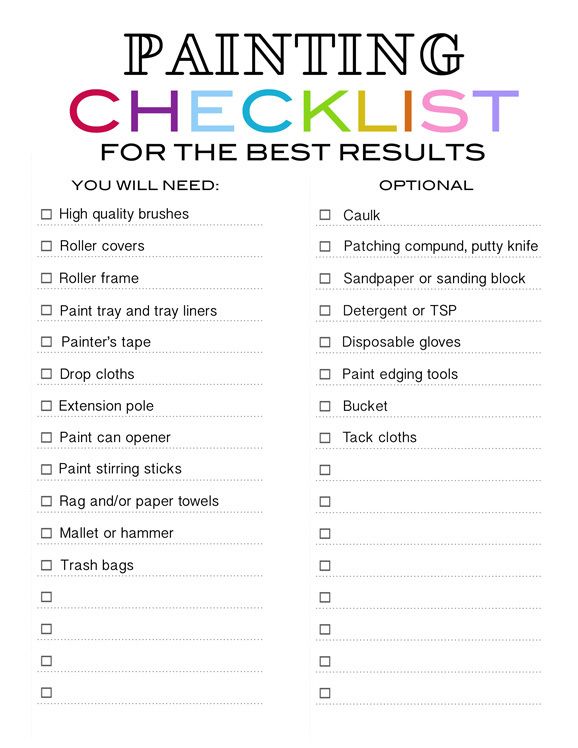
If you intend painting the interior of your home or business as a DIY project, then keep these four (4) major steps in mind. They can help you follow a professional process. Here is the process that we follow:
Four Steps for Interior House Painting
- Move furniture to the center of the room and then cover floors and furniture throughly
- Fill holes, patch cracks, and seal stains
- Prime or sand high gloss surfaces, area where repairs were made, and then apply high-quality paint
- Touch-up walls & trim to create a perfect finish
This may sound simple, but read on.
Cover All Floors and Furniture
Firstly, it only makes sense that you cover the furniture and floor in the room you’re working on. Skipping this step can spell damage for your furniture and even the floors. Imagine discovering some drops of paint on your sofa or carpet later on after they have dried and set in. We’re sure that’s not something you would want. We recommend taking the time to place all furniture at the center of the room, and cover. Also, consider removing them from the room entirely. This is a important step unless you’re planning on working in an empty room. You can cover the furniture with common materials. E.g. painter’s plastic. Use plastic film, drop cloths, or tarps to cover the floor or carpeting.
Sometimes, paint might drip past your defenses and land on a piece of your furniture or even the carpet or floor. When this happens, you should immediately clean it up while it’s still wet. See below for how to do this.
Even when you are painting a ceiling, we still advise that you cover the entire floor and your furniture. We use drop cloths and canvas to protect the floor from paint. Doing this not only protects your floor, but also provide a platform to lay out all your work tools, supplies, and paint buckets in case of a spill or a dropped brush or roller. Completing this first step, you’ll be able to work faster and make fewer mistakes along the way.
Fill Holes & Cracks, and Seal Stains
Preparing the surface determines how good your final painting project will look. It involves scraping any loose, cracked, or bubbling paint. Patch small holes, cracks and dents with a lightweight joint compound and use tape if necessary. Don’t try to fill them all at once, work in thin layers until the joint compound is slightly above the surface of the wall. Wait for the joint compound to dry, then sand the surface imperfections smooth with the surface of the wall. A sanding sponge is perfect for this. Make sure to caulk around windows and trim if they need it.
Pro Tip – Use a joint compound that dries fast in order to add thin layers in a timely fashion as you work from one patch to another. This will save time.
Prime Repairs]
Always use a primer when you’re painting over unpainted drywall, sheet rock repairs, patches, freshly dried joint compound, and/or dark colored paint. It is also recommended to sand and/or prime any time you paint over a gloss or semi-gloss surface.
Priming serves three significant purposes. Firstly, it helps to ensure that stains don’t bleed through. Secondly, it helps to ensure that you only need to use one coat of paint for the final coating (as long as you select a high quality paint). Lastly, it greatly improves the adhesion of the paint to the surface, which then, reduces future blistering. Keep in mind that professionals typically tint the primer towards the finished color.
High-Quality Paints
Selecting a quality paint can sometimes be a challenge. Typically, the cheaper paints 
A better-quality paint will typically contain less solvents. Solvents are what carries the pigments in a liquid form. In latex paint, the solvent is mainly water and in oil-based paint, solvents are mainly mineral spirits. Solvents can make the paint look and feel thick, but the solvents will evaporate and leave a thinner film of solids and resins.
Painting

Sagging paint typically caused by applying to heavy of a coat or thinning the paint too much.[/caption]
In the process of painting, drips or sags may occur on the wall surface. So, it’s wise to have a moist rag or a cloth nearby that can enable you wipe them up immediately. If the paint you’re using is latex, then make sure you always have a rag and some water at hand. Warm water is preferable as it helps the spills soak up quickly and more effectively.
On the other hand, use mineral spirits when working with oil-based paints. Mineral spirits are usually recommended by the manufacturer for cleanup. In an event when you’re not sure on how to tackle the spills or drips, contact your local painting contractorfor guidance.
We recommend that you also perform some routine checks while painting. These routine checks help to ensure you create a flawlessly painted surface. Firstly, you should check for paint splashes on adjacent surfaces like trim, doors, and base boards. Clean all paint splashes as soon as possible. Also, please ensure there is no paint residue on your shoes as well. You wouldn’t want to be spreading paint around the house, right?
Touch-up Walls and Trim To Create A Perfect Finish
Some people tend to skip this step, but its importance can’t be overemphasized for the final appearance. After 
If you used a roller to paint initially, we advise you use the same so that you can get the exact texture. However, if the affected area is too small for a roller, a little brush would do the job. Touching-up a wall will assure that your final job looks excellent and crisp. Tutorials on touch-up can be found on the internet. Local painting contractors can also be of help.
Pro Tip Spend the extra money on Frog tape. It doesn’t allow the paint to bleed through when taping trim for a straight paint line.
Conclusion
Many homeowners have the most fun during the painting project when choosing their paint colors. This is an important decision and there are many online resources for this. However, irrespective of the color of paint you choose, we recommend you select interior paints which do not produce harmful side effects. Many paints contain Volatile Organic Compounds (VOC’s). Individuals exposed to high levels of (VOC’s) for long periods have reported health issues. It is also harmful to babies as their rate of oxygen inhaled is higher than adults. There are numerous low-VOC or low-odor paints to select from. And they can be tinted in any color you can imagine.
Interior painting is a job that can be completed perfectly. The preparation and paint process as outlined above should not be taken lightly because it is a very crucial to the outcome of the final product. Even the most beautiful colors won’t look as good without proper preparation.
To get the best interior painting services in Kansas City, you can contact us, and we’ll provide you with a free estimate for the rooms you need painted. At Decker Service Professionals, we have the experience to deliver an affordable and high-quality painting service to meet your expectations. We can assure that your interior will look beautiful. If you can imagine it, we can make it a reality.