Why Consider Popcorn Texture Removal?
There are several reasons why homeowners consider popcorn texture removals. For one, it can be difficult to clean and maintain. The texture tends to attract dust and cobwebs, making it a breeding ground for allergens. Additionally, popcorn ceiling texture can make a room look dated and unattractive, especially if it has yellowed over time.
Another reason to for popcorn texture removal is that it may contain asbestos. Asbestos was commonly used in popcorn ceiling texture until the late 1970s, when it was discovered to be a health hazard. If your home was built before 1980, it’s a good idea to have the popcorn ceiling tested for asbestos before attempting to remove it.
How to Remove Popcorn Ceiling Texture
- Prep the room. Remove all furniture from the room and cover the floors with plastic sheeting. Turn off the electricity to the room to avoid any accidents.
- Test for asbestos. If your home was built before 1980, it’s a good idea to have the popcorn ceiling tested for asbestos. You can hire a professional to do this, or you can purchase an asbestos testing kit and do it yourself.
- Wet the ceiling. Use a spray bottle to mist the ceiling with water. This will help soften the texture and make it easier to remove.
- Scrape the texture. Use a scraper or trowel to gently scrape the popcorn texture off the ceiling. Work in small sections to avoid damaging the drywall underneath.
- Sand the ceiling. Once the texture is removed, you’ll need to sand the ceiling to create a smooth surface. Use fine-grit sandpaper to avoid damaging the drywall.
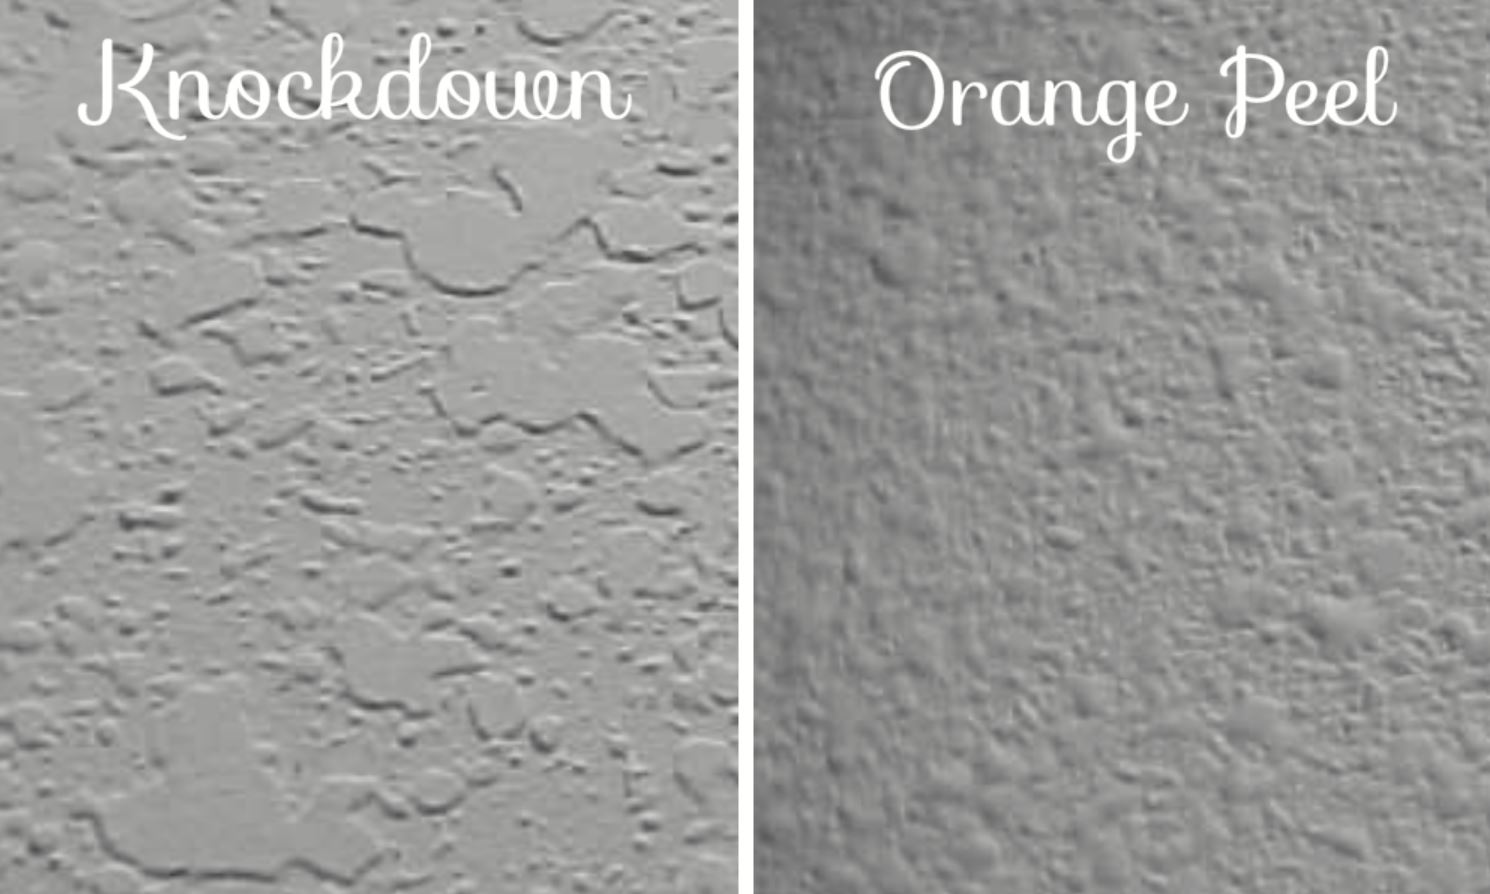
- Patch any imperfections. Use joint compound to patch any holes or cracks in the ceiling. Allow the compound to dry completely, then sand it smooth. Also consider applying a modern
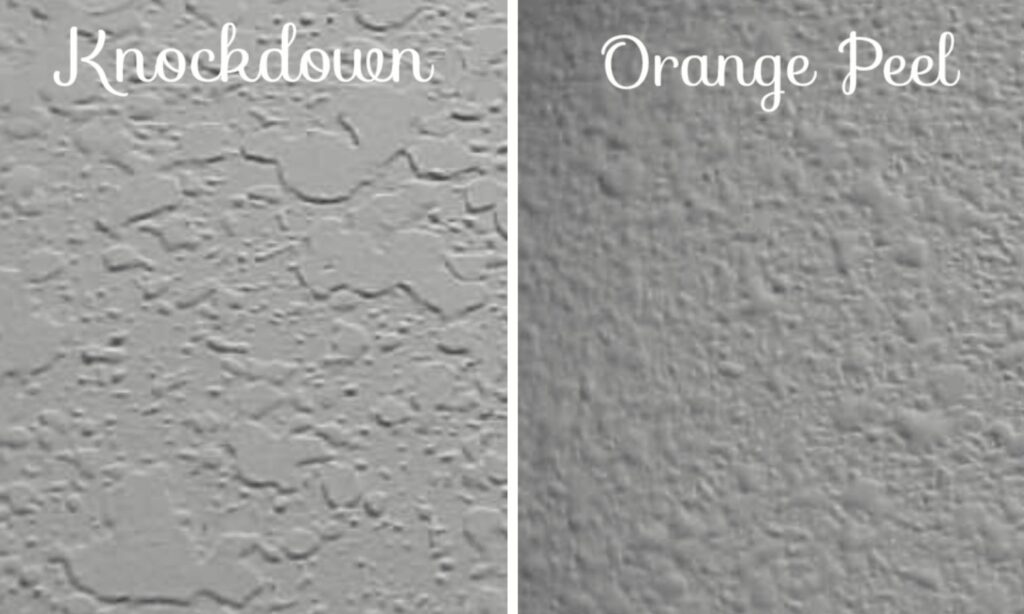 knockdown or orange peel texture which may eliminate much of the sanding to create an absolutely smoot surface.
 - Paint the ceiling. Once the ceiling is smooth and dry, you can paint it with a fresh coat of paint.
Tips for Popcorn Texture Removals
When removing popcorn ceiling texture, it’s important to take the necessary precautions to protect yourself and your home. As mentioned earlier, if your home was built before 1980, you should have the popcorn ceiling tested for asbestos before attempting to remove it. If asbestos is present, it’s best to hire a professional who is trained in asbestos removal.
Even if asbestos is not present, you should still wear a mask and goggles to protect yourself from dust and debris. Use plastic sheeting to cover the floors and furniture in the room to avoid damage and make cleanup easier. Turn off the electricity to the room to avoid any accidents.
It’s also a good idea to work in small sections and mist the ceiling with water before scraping to avoid damaging the drywall underneath. A fan can be used to help dry the ceiling after misting it with water.
- Wear a mask and goggles to protect yourself from dust and debris.
- Use a stepladder or scaffold to reach high ceilings.
- Work in small sections to avoid damaging the drywall.
- Use a fan to help dry the ceiling after misting it with water.
- Consider hiring a professional if you’re not comfortable doing the job yourself.
In conclusion, popcorn texture removal can be a messy and time-consuming process, but it can also be a rewarding DIY project that updates the look of your home. Just be sure to take the necessary precautions to protect yourself and your home and follow the steps carefully for the best results.